Using Cloudflare Tunnels to expose localhost to the internet
Cloudflare Tunnels is the newest alternative to tools like Ngrok and localtunnel. These tools help expose locally hosted apps and websites to the internet.
On Cloudflare Tunnels, tunnels with permanent domains are free. This is a good because it makes working with or debugging webhooks with local apps very easy.
Install cloudflared
Install cloudflared with homebrew like below or checkout install instructions for other operating systems)
brew install cloudflare/cloudflare/cloudflared
Start a tiny web server to test
Create and start a tiny web server to tryout cloudflared.
mkdir tunnel-tryouts && cd tunnel-tryouts
echo "<html><h1>Hello Cloudflare Tunnel</h1></html>" > index.html
python3 -m http.server
The website we just brought up should be accessible at http://localhost:8000/
The output should look something like below.

Start a Cloudflare Tunnel
To make this available to the world, run the cloudflared command by passing the url of the website as an argument.
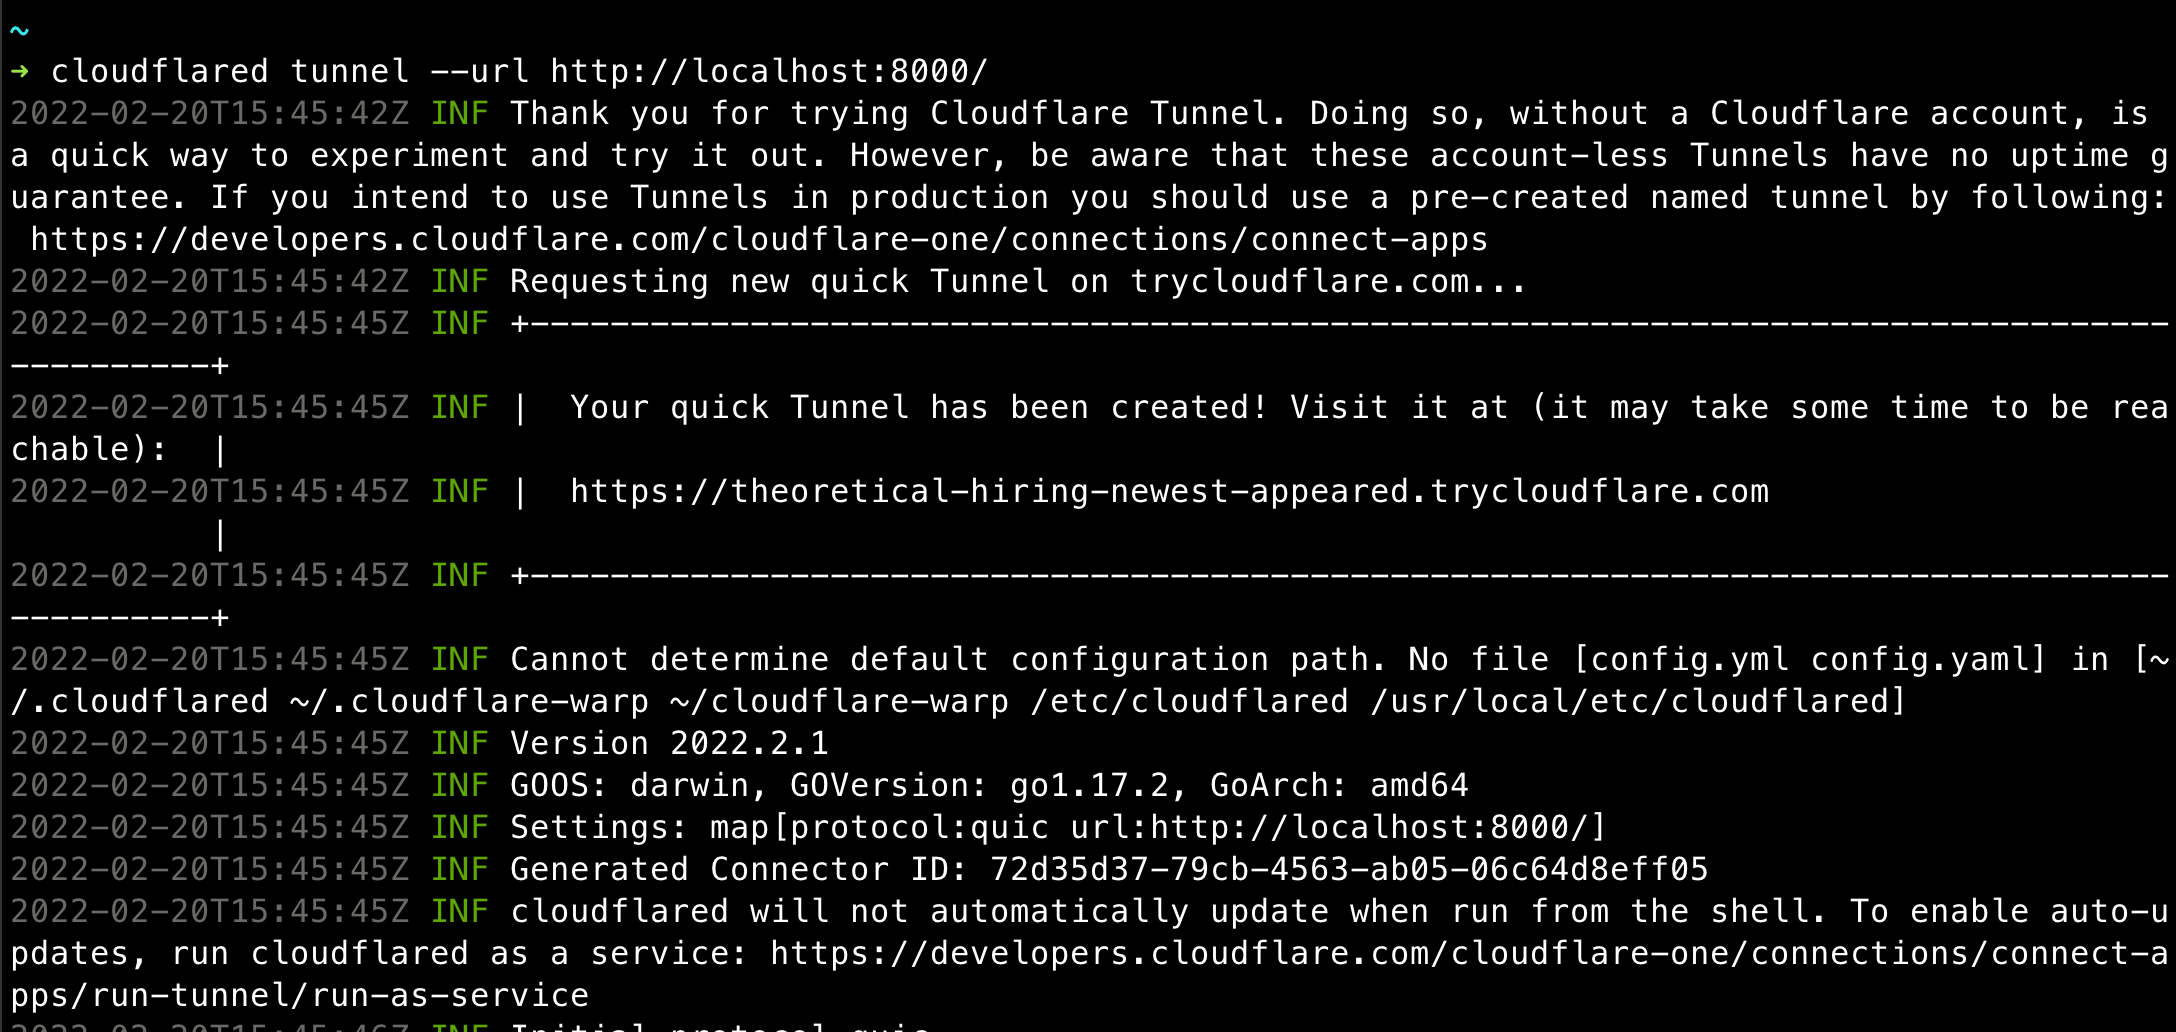
cloudflared tunnel --url http://localhost:8000/
The output should look like something below. The tunnel url is also provided in the output. Hit the tunnel url and the website should be accessible to the world.
Running tunnels with permanent domains or subdomains
This requires a domain on your Cloudflare account that you can use for the tunnel.
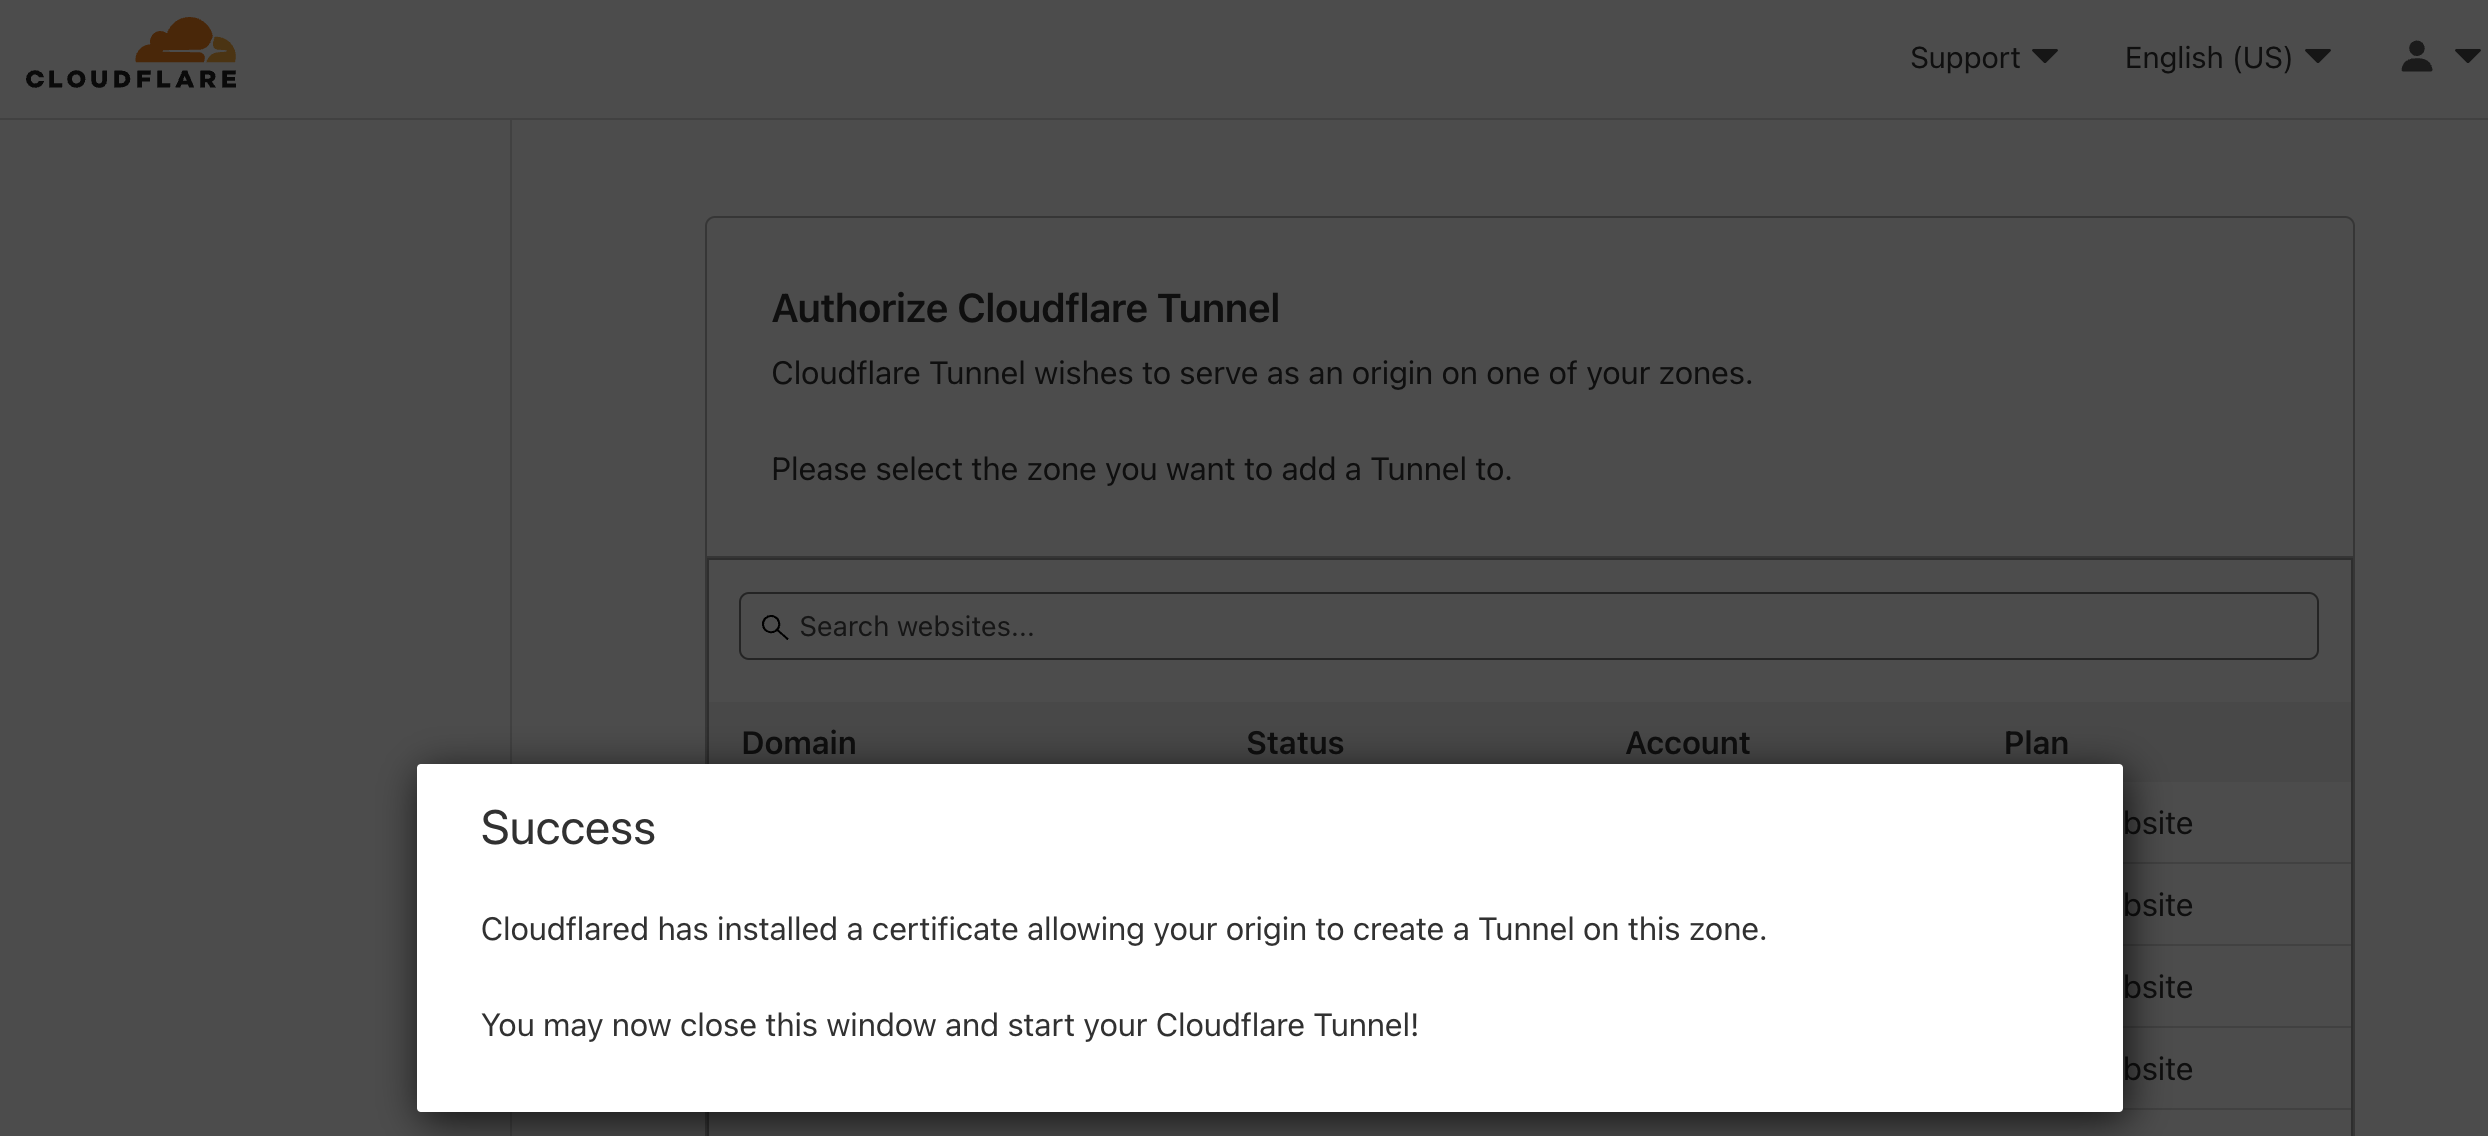
Login to Cloudflare and authorise use of one of the domains
cloudflared tunnel login
You will be prompted to authorize one of your domains to use for your tunnels. Pick one and that completes the setup.
Start a tunnel with the required domain or subdomain.
I am using one of my domains to play with.
cloudflared tunnel --hostname myapp.define.run --url http://localhost:8000
The website should now be accessible at the desired subdomain 😃